... and more still ....
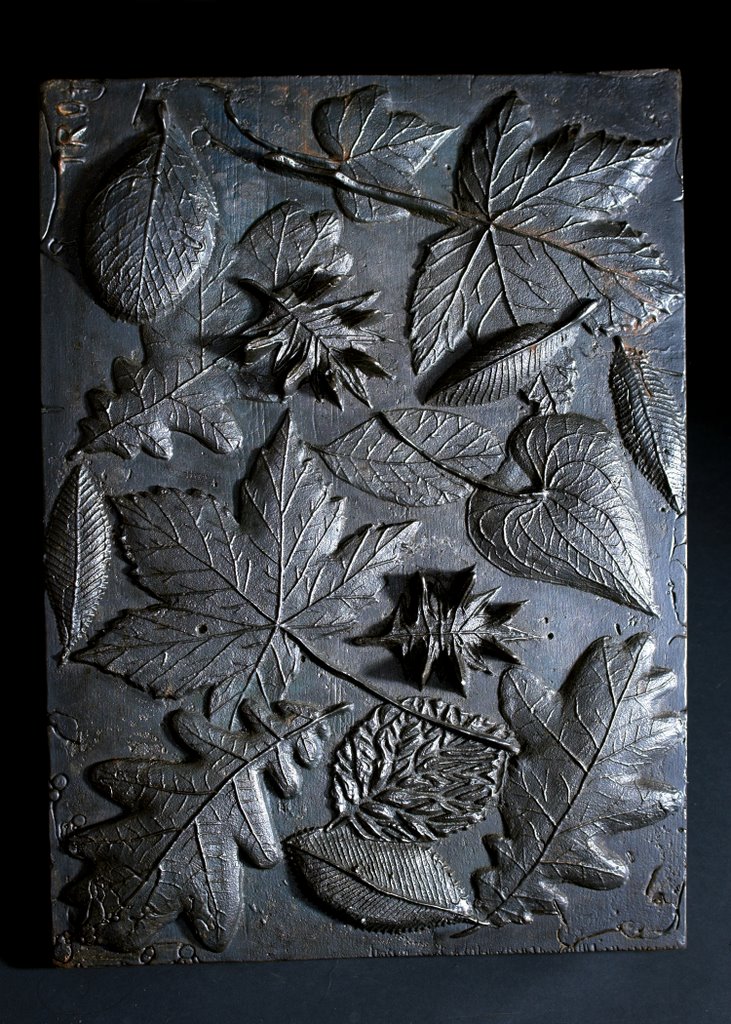
Here's another example of a scratch block... This one was even simpler than the serpent, as it was 'open poured'. The Serpents was carved into the face of one scratch block before having a back attached - that meant that when poured, the finished piece had a nice 'even' overall smooth finish. This one on the otherhand has a rough back to it casued by the iron cooling rapidly in the open air. Some of the 'wrinkles' in the rapidly cooling metal are also visible on the face - but in this instance, I think they actuall add to the finished result...
posted by Winkcommander at 11:23 AM
![]()
![]()

2 Comments:
Do you make your own resin-bonded silica scratch blocks? If so would you be willing to share your recipe. I have been hoping to start using scratch blocks, but I would like an expert opinion on the best mix to use. I can surely run a trial and error, but figured your knowledge might speed things along! Thanks in advance for any help you can provide. Love the works, btw.
Hello Mt Toad! Sorry its taken me ...oops... more than three months to post a reply, but I had an issue with the seetings on the blog... I was involved with the making of the scratch blocks - though the silica sand and the resin and catalyst were sourced by the guys running the course. From (probably dodgy!) memory, it was 1.25 kgs of resin to 250grammes of ctalyst to two bags of silica sand (about a comfortable sement mixer load) This mixture was then thoroughly tumbled in the mixer and additionally stirred at the same time with a plasterers mixer (the blades in the mixer had been removed)
Post a Comment
<< Home