... and here in less abstract mode...

...and another view of the Iron Spine...
posted by Winkcommander at 12:38 PM
3 comments
![]()
![]()
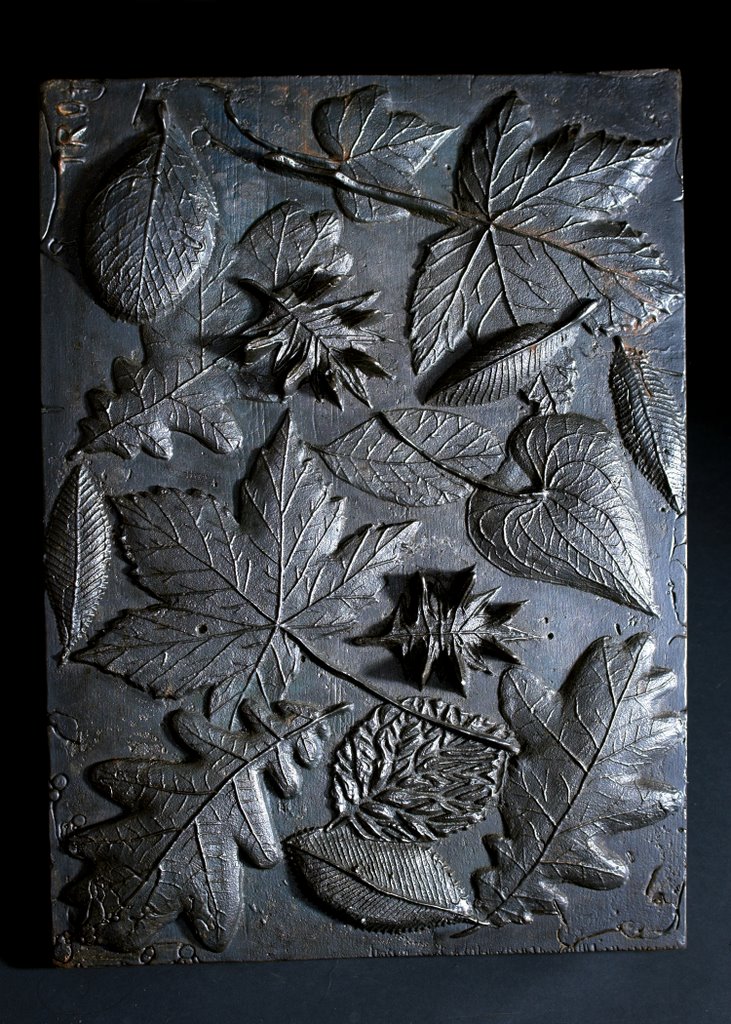
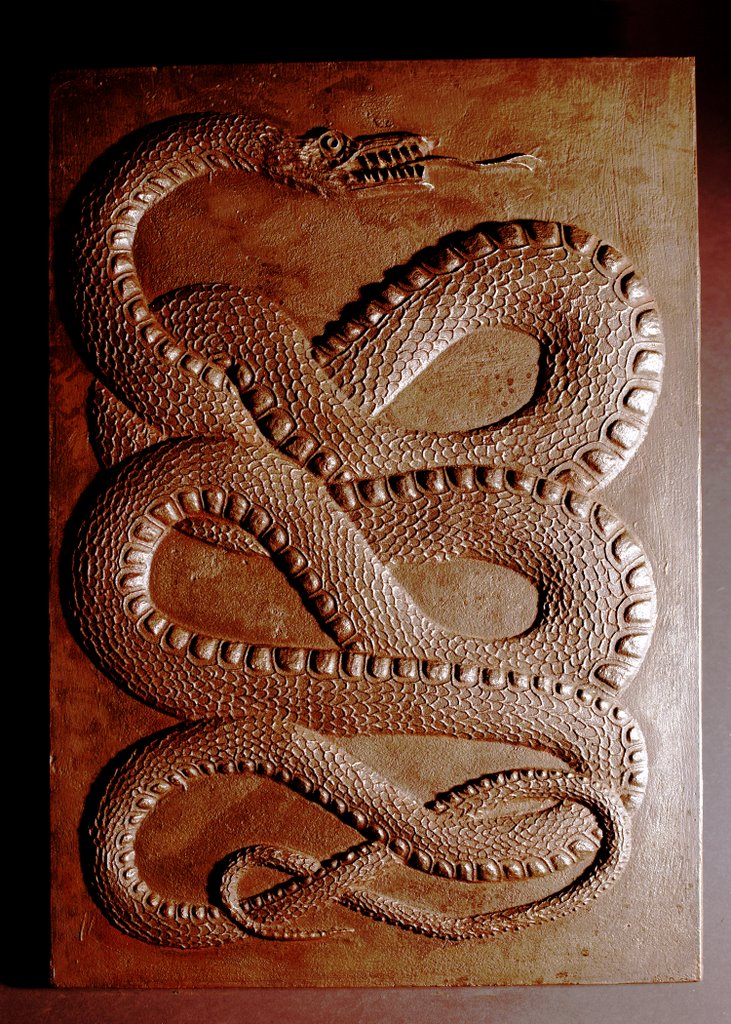
Cast iron, rambling, sculpture and who knows what else which might come to mind
posted by Winkcommander at 12:38 PM
3 comments
![]()
![]()

posted by Winkcommander at 11:48 AM
0 comments
![]()
![]()
posted by Winkcommander at 11:23 AM
2 comments
![]()
![]()
posted by Winkcommander at 10:54 AM
0 comments
![]()
![]()
